WebSocket Programming Examples with and without Node.js
Creating a basic chat application using either WebSockets and Node.JS, or a hosted service such as PubNub.
If you are reading this, you are probably interested in creating an application or service that needs two-way communication that either side can initiate. Node JavaScript (Node.js) can be used to quickly develop and deploy this application using WebSockets, which were designed with this use case in mind.
What is a WebSocket?
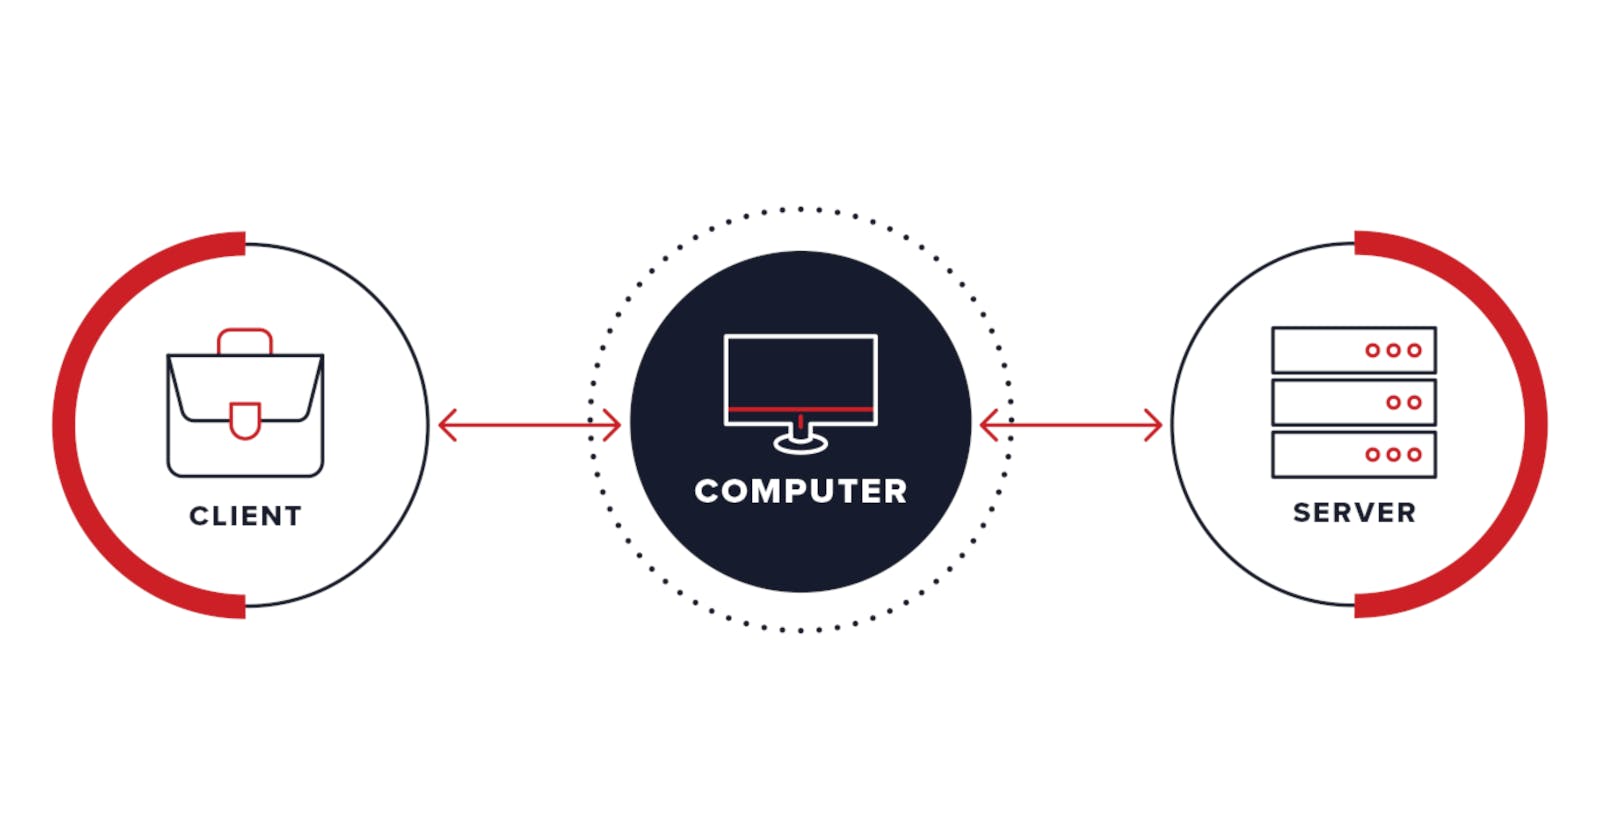
A WebSocket is a computer communications protocol providing duplex communication channels over a single TCP connection. In other words, it allows internet-capable devices to communicate with each other, one acting as the client and the other acting as the server, with both able to initiate communication.
What types of applications use WebSockets?
The WebSocket protocol is used wherever a solution requires real-time communication and example use cases include:
WebSockets create a TCP socket connection between multiple devices or processes. As will be discussed later, similar functionality can be implemented using HTTP Long Polling or a hosted pub/sub service, but let’s build a simple example first using WebSockets and Node.js.
Node.js WebSocket API Example - a basic chat application
All source code associated with this blog is hosted on GitHub
To build a basic chat application with WebSockets, you will need both a client and server component.
For the server, we will use Node.js, and the client-side code will run within a web browser such as Chrome.
Node.js WebSockets Code (Server)
This application will require both a web server (HTTP server) and a WebSocket server (wss). The web server allows us to load our client (running in a browser), and the WebSocket server handles the bidirectional chat messages.
Create the Node.js app and install both the Express.js and ‘ws’ packages which will provide our web server and WebSocket server, respectively.
npm init
**Follow the prompts and accept the defaults**
npm install --save express
npm install --save ws
The web server portion will serve a single web page to the client, websocket-client.html, on port 3000:
const express = require('express')
const webserver = express()
 .use((req, res) =>
   res.sendFile('/websocket-client.html', { root: __dirname })
 )
 .listen(3000, () => console.log(`Listening on ${3000}`))
A WebSocket server can be created in only a few lines using the Node.js WebSocket library (ws) package:
const { WebSocketServer } = require('ws')
const sockserver = new WebSocketServer({ port: 443 })
After creating an instance of a WebSocket server and specifying the port to run on, we can define any action that should happen after the WebSocket connection is established. In our case, we write connection events to the console and forward any messages we receive to previously connected clients. WebSockets are designed to run on the same ports as HTTP/HTTPS (i.e., 80 and 443).
sockserver.on('connection', ws => {
 console.log('New client connected!')
 ws.send('connection established')
 ws.on('close', () => console.log('Client has disconnected!'))
 ws.on('message', data => {
   sockserver.clients.forEach(client => {
     console.log(`distributing message: ${data}`)
     client.send(`${data}`)
   })
 })
 ws.onerror = function () {
   console.log('websocket error')
 }
})
And with that, the server portion is complete. Every time a message is received on any socket, it proxies the message to every connected client, which is the basis of any group-chat app.
The full index.js code looks like this:
const express = require('express')
const webserver = express()
 .use((req, res) =>
   res.sendFile('/websocket-client.html', { root: __dirname })
 )
 .listen(3000, () => console.log(`Listening on ${3000}`))

const { WebSocketServer } = require('ws')
const sockserver = new WebSocketServer({ port: 443 })
sockserver.on('connection', ws => {
 console.log('New client connected!')
 ws.send('connection established')
 ws.on('close', () => console.log('Client has disconnected!'))
 ws.on('message', data => {
   sockserver.clients.forEach(client => {
     console.log(`distributing message: ${data}`)
     client.send(`${data}`)
   })
 })
 ws.onerror = function () {
   console.log('websocket error')
 }
})
And you can run it from the command line as follows:
node index.js
Messages can either be text or JSON encoded (JSON.stringify). This code uses the utf-8 charset by default.
WebSockets Code (Client / Browser)
We don’t have to install additional software or packages to use WebSockets with modern web browsers. Create a listening WebSocket by providing a correctly formatted URI:
const webSocket = new WebSocket('ws://localhost:443/');
And defining an event handler for when a message is received from the server:
webSocket.onmessage = (event) => {
  console.log(event)
  document.getElementById('messages').innerHTML +=
    'Message from server: ' + event.data + "<br>";
};
That’s it. We can now receive data from the WebSocket server. To send a message event from the client, you send() on the socket object:
webSocket.send('hello')
To make our chat app functional, we just need to add an input field and a ‘send message’ button, so your frontend HTML code should look something like this (styling & css omitted for brevity):
<html>
<body>
  <form id="input-form">
    <label for="message">Enter Message:</label>
    <input type="text" id="message" name="message"><br><br>
    <input type="submit" value="Send">
  </form>
  <div id="messages"></div>

  <script>
    const webSocket = new WebSocket('ws://localhost:443/');
    webSocket.onmessage = (event) => {
      console.log(event)
      document.getElementById('messages').innerHTML +=
        'Message from server: ' + event.data + "<br>";
    };
    webSocket.addEventListener("open", () => {
      console.log("We are connected");
    });
    function sendMessage(event) {
      var inputMessage = document.getElementById('message')
      webSocket.send(inputMessage.value)
      inputMessage.value = ""
      event.preventDefault();
    }
    document.getElementById('input-form').addEventListener('submit', sendMessage);
  </script>
</body>
</html>
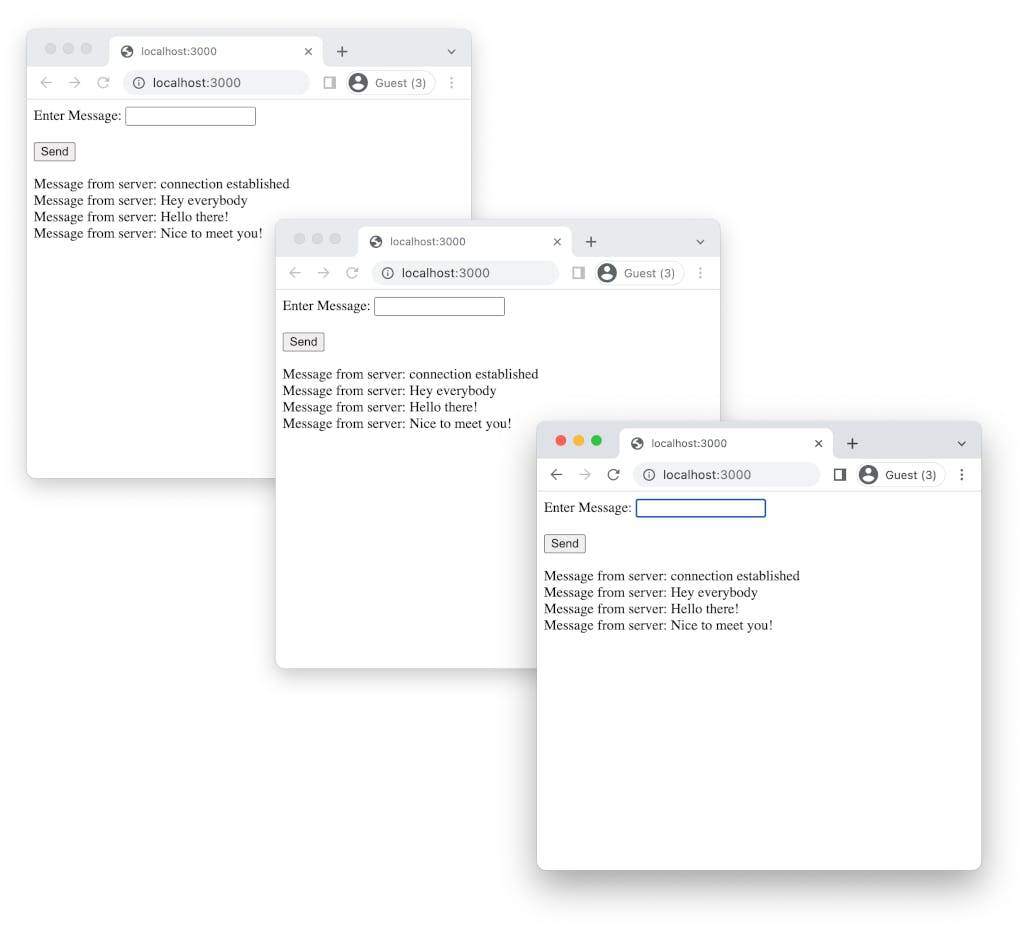
Make sure you name your HTML page websocket-client.html and launch a few tabs in your browser, navigating to http://localhost:3000. You should see messages received in every tab:

Creating the same chat app without a Node.js server
If you don’t have a server or have concerns about scaling your server infrastructure to meet your application’s future demands, you should opt for a hosted real-time communication solution such as Socket.io or PubNub.
PubNub is a globally distributed and scalable cloud platform, so you do not have to worry about deploying and maintaining servers on your backend. PubNub SDKs can identify users and send messages to specific channels, which only subscribed users will receive.
So, how would the simple chat app presented above be written with PubNub? One benefit of PubNub is that it is protocol agnostic. PubNub uses the ‘publish’ and ‘subscribe’ architecture (pub/sub) to send and receive bidirectional messages.
First, include the PubNub JavaScript SDK in the header, available from their CDN:
<script src="https://cdn.pubnub.com/sdk/javascript/pubnub.7.2.2.min.js"></script>
To subscribe for incoming messages, create a PubNub instance, define the channel, and add a listener:
var pubnub = new PubNub({
  publishKey: 'demo',
  subscribeKey: 'demo',
  userId: "" + Math.random()
})
pubnub.subscribe({
  channels: ['ws-channel']
})
pubnub.addListener({
  message: payload => {
    console.log()
    document.getElementById('messages').innerHTML +=
      'Message from client: ' + payload.message + "<br>";
  }
})
The page will be updated whenever messages are received on the ws-channel. The code above uses 'demo' keys, but you can obtain your custom PubNub keys for free.
To send messages over PubNub, publish on the same channel you subscribed to previously, in this case:
pubnub.publish({
  channel: 'ws-channel',
  message: inputMessage.value
})
The channel model is very flexible and extensible, but for this simple example, it is sufficient to just send and receive messages on the same channel. Your message will be delivered anywhere in the world in under 100ms.
Since there is no server component required with a PubNub deployment, the entire application, written in HTML and JS, is contained within a single file:
<html>
<head>
  <script src="https://cdn.pubnub.com/sdk/javascript/pubnub.7.2.2.min.js"></script>
</head>
<body>
  <H1>This code uses PubNub, which is protocol agnostic</H1>
  <form id="input-form">
    <label for="message">Enter Message:</label>
    <input type="text" id="message" name="message"><br><br>
    <input type="submit" value="Send">
  </form>
  <div id="messages"></div>

  <script>
  var pubnub = new PubNub({
    publishKey: 'demo',
    subscribeKey: 'demo',
    userId: "" + Math.random()
  )
  pubnub.subscribe({
    channels: ['ws-channel']
  })
  pubnub.addListener({
    message: payload => {
      console.log()
      document.getElementById('messages').innerHTML +=
        'Message from client: ' + payload.message + "<br>";
    }
  })
function sendMessage(event) {
  var inputMessage = document.getElementById('message')
  pubnub.publish({
    channel: 'ws-channel',
    message: inputMessage.value
  })
  inputMessage.value = ""
  event.preventDefault();
}
document.getElementById('input-form').addEventListener('submit', sendMessage);
  </script>
</body>
</html>
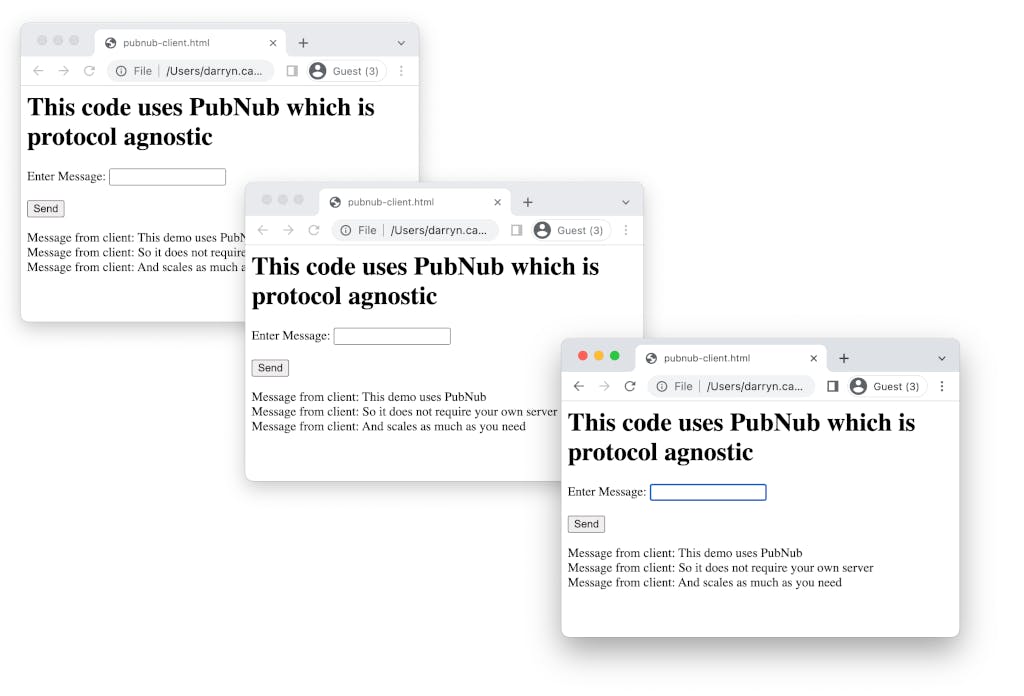
You can see a live version of this code at https://pubnubdevelopers.github.io/nodejs-websocket-examples/pubnub-client.html

And that’s all there is to it! For more information on developing with PubNub, check out their range of tutorials and demos. Alternatively, check out the PubNub interactive live tour to understand how the platform provides real-time interactivity to applications.

